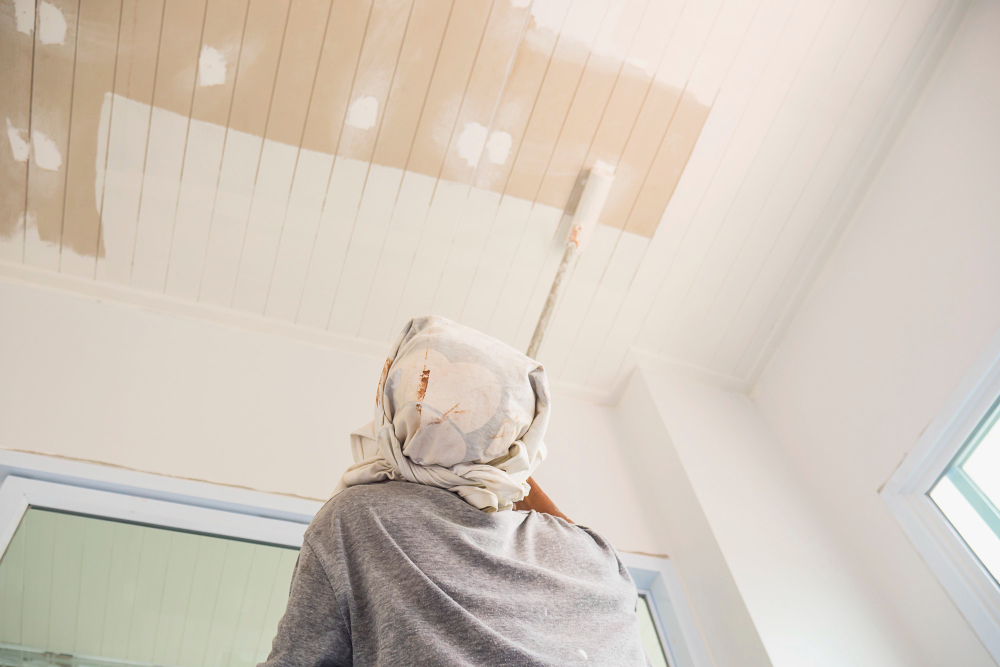
Top Tips for Painting a Ceiling Like a Pro

Painting a ceiling may not be the most glamorous DIY project, but it’s one of the most impactful. A fresh coat of paint can transform a room instantly, making it feel brighter, cleaner, and more inviting. However, achieving that flawless finish takes preparation, the right tools, and the proper techniques. Without them, you risk ending up with streaks, patches, or a strained neck.
Whether you’re tackling this project on your own or considering hiring professionals, this guide will walk you through the steps to ensure a ceiling painting success. And if you're in Port Orange, FL, and looking for an expert touch, Color Masters Painting has you covered!
Why Painting a Ceiling Can Be Tricky
Ceilings come with unique challenges that differentiates them from walls or other surfaces you might paint. Issues like gravity, uneven lighting, and tricky angles make it easy to end up with drips, streaks, or an underwhelming result. That’s why it’s so important to approach this project with the right tools and techniques.
Whether you’re inspired to tackle it yourself or you’re on the lookout for professional painters in Port Orange, FL, understanding these challenges will help you make the best decisions for your space.
Step-by-Step Guide to Painting a Ceiling
1. Choose the Right Paint and Tools
Your choice of paint is crucial—you'll want a flat, matte finish to hide imperfections and limit glare. Most ceilings look best in white or pale shades, which reflect light beautifully, but don’t shy away from bold colors if it suits your style.
Here's what you’ll need for the job:
- Paint (choose ceiling-specific formulas—they tend to be less drippy).
- Roller and telescoping extension pole to minimize strain.
- Angled brush for precision in corners and edges.
- Paint tray and/or bucket with a screen to control drips.
- Painter’s tape to protect adjoining walls or crown molding.
- Drop cloths to cover floors and furniture.
Pro Tip: If your ceiling has stains, prep it first with a stain-blocking primer.
2. Prep the Room Properly
Before you even lift a brush, give the room some love. Move furniture out if possible, and cover floors with drop cloths to catch drips. Dust and clean the ceiling to remove cobwebs, grease, or any fine debris.
This is also the time to:
- Fill in any cracks with spackle and sand down uneven areas.
- Use painter’s tape to protect the tops of your walls.
A well-prepped surface is the foundation of a perfect paint job.
3. Cut in the Edges First
One of the most overlooked (but critical) rules in ceiling painting is cutting in edges before rolling. Use an angled brush to carefully paint where the ceiling meets walls, moldings, or light fixtures. Keep this step as neat as possible to reduce touch-ups later.
Pro Tip for DIY Painters in Port Orange, FL: Doing this step in natural daylight will help you better detect uneven application.
4. Pour and Roll Strategically
Pour your paint into a tray or bucket with a screen and load your roller evenly. Avoid overloading—it’s better to make multiple passes than deal with dripping paint.
When rolling, use long, smooth strokes in one consistent direction, typically perpendicular to windows. Overlap slightly to prevent lines or streaks showing when the light hits.
Pro Tip: Work in 4x4 sections. This not only ensures even coverage but helps the paint stay wet enough to blend as you progress.
5. Apply a Second Coat
Even experienced painters understand the importance of a second coat for a polished, uniform look. Wait at least 2-4 hours for the first coat to dry completely before starting round two.
Patience here pays off—rushing this process can lead to smudges or uneven patches.
6. Clean as You Go
Accidents while painting a ceiling are inevitable, but here's the trick—spot-clean immediately before spills or drips dry. Keep a damp cloth nearby to quickly address issues.
Also, don't forget to clean your brushes and rollers once the project is done. Taking care of your tools will save you money and effort for future painting jobs.
Making Ceiling Painting Simple
Painting a ceiling is by no means easy, but with the above tips, you can tackle it confidently. However, for busy homeowners or those looking for a truly flawless finish, hiring professionals might be the way to go.
Why Hire Professional Painters?
While a DIY approach can be rewarding, hiring experienced painters in Port Orange, FL, can save you time, money, and frustration. Consider enlisting pros if:
- You don’t have the proper tools or ladder for high or vaulted ceilings.
- Uneven textures or repairs make prep work difficult.
- You want a project completed quickly and headache-free.
This is where Color Masters Painting shines. Our team is skilled at both ceiling and wall painting, and we specialize in breathing new life into homes with expert precision.
Transform Your Space with Ease
Your ceiling can elevate the look of your interiors, giving your home a fresh, modern feel. Whether you want to DIY or leave it to the experts, there’s no better time than now to make your vision come to life.
If you’re based in Port Orange, FL, and ready to give your home the upgrade it deserves, contact Color Masters Painting today! We’re happy to provide free estimates and consultation for your next project.